On arrival I was introduced to the lovely Andrew, and the other bloggers and You Tubers who were taking part. We were very kindly each given our own Newt Scamander wand, and a copy of the DVD to take home with us - the wand was on hand in case we needed a little magical assistance during our time in the kitchen.
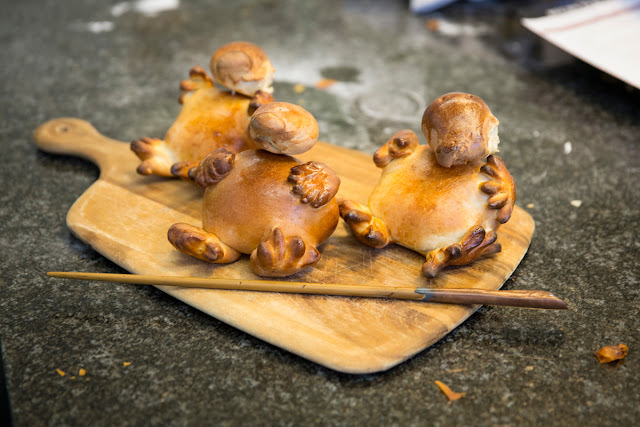
Andrew had created two rather spectacular recipes inspired by the film, which centres around various magical creatures and beasts from the Harry Potter universe: most famous of all the beasts from the movie is The Niffler and clever Andrew taught us how to re-create this little beast in dough form.
Wands at the ready!
Getting to grips with the recipe cards
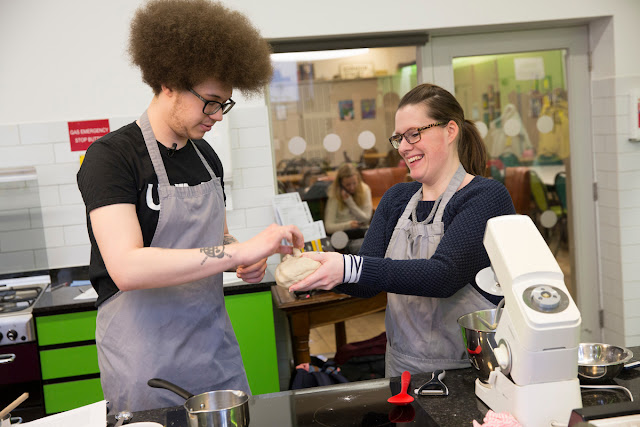
Firstly, we made the dough for our cheeky little Niffler breads, as it would need time to rise (about an hour). We teamed up to use the food mixers to knead our dough for us - I got to work with the quite frankly hilarious Joel Watts from UNILAD who it's fair to say had limited baking experience! I like to think I taught him a thing or two! *Wink, wink*
Next we got stuck into making our apple strudels inspired by a scene from Fantastic Beasts and Where To Find Them.
Here's the full recipe if you'd like to give it a try...
Apple Strudel Recipe by Andrew Smyth
Ingredients
For the filling:
4 granny smith apples
90g sultanas
1 tsp ground sweet cinnamon
Zest of ½ a lemon
20ml calvados brandy
40g light brown soft sugar
40g caster sugar
For the pastry:
20 sheets shop-bought filo pastry
70g melted butter
Whipped cream to serve (optional)
Method
1.Preheat the oven to fan 190C.
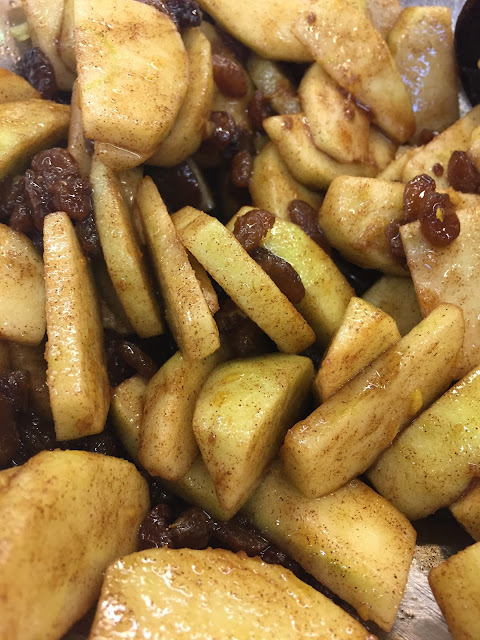
2.For the filling, carefully peel the apples in a single peel. We’ll use these later to form the apple roses which sit on top of the strudel. Set these peelings to one side in a bowl of cold water. Core and slice the apples into wedges and mix in a bowl with the sultanas, cinnamon, lemon zest, calvados and sugars. Stir to combine and set aside.
3.Open up the filo pastry packs and set the filo sheets in between 2 damp tea towels to keep them from drying out before we use them. Melt the butter in a small bowl.
4.On a large sheet of greaseproof paper, lie down 2 sheets of filo beside each other, with their longest sides slightly overlapping. Use a pastry brush to brush over a thin layer of melted butter, then add 2 more sheets on top of these 2. Repeat this process until you have 5-6 stacked layers of filo.
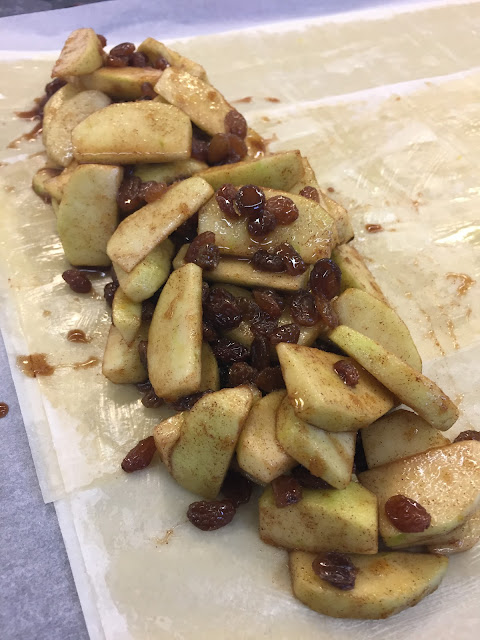
5.Scoop the filling onto one of the shorter sides of the larger filo rectangle, around 5 cm from the edge. Use the greaseproof paper underneath to roll the filling up inside the filo (like a swiss roll) until the seam is on the underneath of the strudel. Neatly tuck in the ends of the roll and transfer to a lined baking tray.
6.For a filo braid decoration, take one sheet of filo and brush with butter. Roll it tightly up from one corner in the diagonal direction so you get a long thin roll of filo. Do this 3 times to make the 3 strands of a braid. Braid them together then drape over the strudel and tuck the edges underneath, trimming any excess. Repeat this for 2 more braids along the length of the strudel.
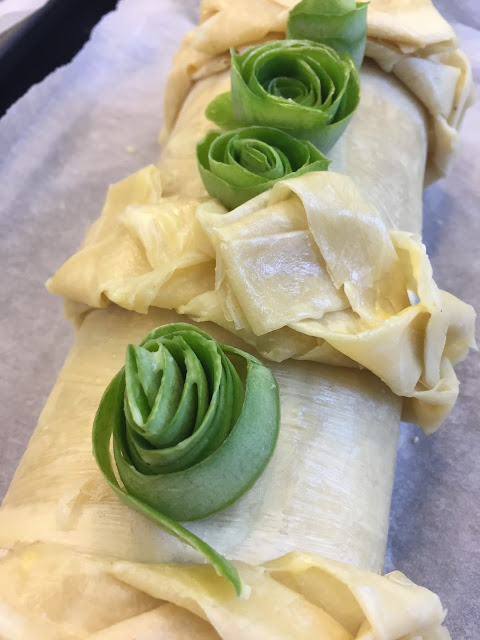
7.Roll 4 of the apple peels tightly up to form little rosettes and set 2 of these between each gap in the braids. Brush the entire strudel with melted butter then place in the middle of the oven for 30-40 mins until golden brown.
Making apple peel roses
I really enjoyed making the strudel - thankfully we didn't have to make our own filo pastry (which is notoriously impossible!) so it was a pretty straight-forward assembly job really. The filling smelled absolutely insane - a heady mix of calvados, sweet apples, cinnamon and lemon zest -YUM!
Heavenly apple strudel filling
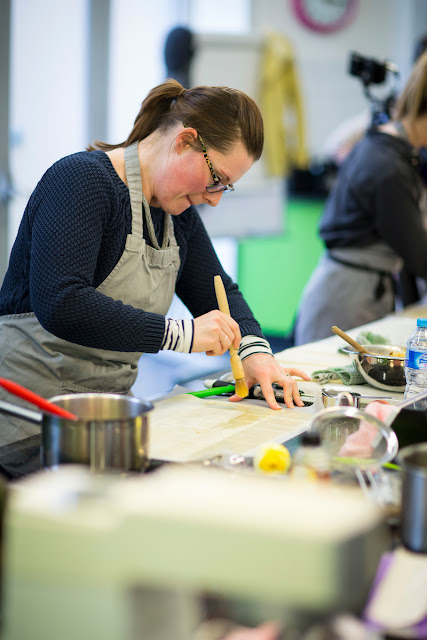
For those who don't know or haven't used filo before - it is a super-delicate paper thin pastry, that contains no butter - so it's vital when using it that a) you work as swiftly as you can because it dries out very quickly, and B) you paint lots of melted butter between each layer that you use, to ensure it flakes nicely, and sticks together/seals where needed.
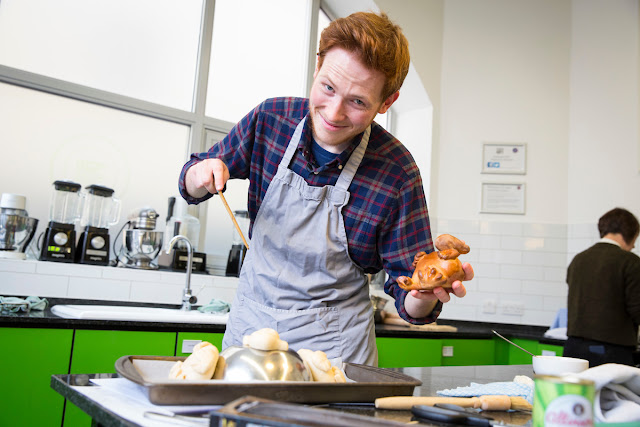
This is my concentration face!
Once you've layered up your pastry and let you filling sit for a little while so the juices can begin to seep out of the apple and all the flavours can mix together it is just a case of spooning the mixture onto one end of your filo rectangle, and then carefully rolling it up - tucking in the ends as you go.
All ready to be rolled up tightly...
My glorious apple strudel all ready for the oven...
I was super-chuffed with how my strudel looked once assembled - and my goodness did it smell incredible as it baked in the oven!
Golden and glorious!
Of course, we just HAD to tuck in as soon as it came out of the oven - Andrew very kindly shared his strudel with us so that we could take ours home in tact to share with our families - thanks Andrew!
It was absolutely delicious - and I *might* have gobbled up another giant slice at home with Liam that evening too! Well, you don't make a beautiful apple strudel every day, do you?
The apple peel roses and filo braid decorations on our strudels were inspired by a scene in the movie where Newt feasts on a similar-looking strudel...it was actually really nice to have a play with some new-to-me methods of prettying up filo bakes. I'm a bit of a perfectionist when it comes to baking, and if we'd had more time I'd have liked to have mastered the apple peel roses as mine left a lot to be desired!
Tah dah! My finished strudel in all its glory.
Once our strudels were out of the oven, it was time to get to work in creating little Nifflers out of our now beautifully proved sweet bread dough.
Ingredients
150ml semi-skimmed milk
1 ½ tbsp honey
10g melted butter
A little lemon zest
½ tsp dried yeast
260g very strong white bread flour
½ tsp fine salt
1 medium egg (for egg wash)
Vegetable Oil (for greasing)
150ml semi-skimmed milk
1 ½ tbsp honey
10g melted butter
A little lemon zest
½ tsp dried yeast
260g very strong white bread flour
½ tsp fine salt
1 medium egg (for egg wash)
Vegetable Oil (for greasing)
Method
1. Heat the milk and honey together in a microwave in a small bowl until warm to the touch. Melt the butter in the same way and add these liquid ingredients to a large mixing bowl of a stand mixer along with the finely grated lemon zest and dried yeast.
2. Mix together on a slow speed with the dough hook attachment then gradually add the salt and flour. The dough is meant to be stiff and should easily pull away from the edges of the bowl once the flour has been added. Increase to a medium speed and leave to mix for 5-7 minutes until the dough is springy and passes the “windowpane test”.
3. Tip out onto a lightly oiled surface and form into a ball. Lightly oil the mixing bowl and put the dough back, cover with cling film and leave to rise in a warm place or proving drawer for 1 hour or until doubled in size.
4. Once the first prove is done, tip your dough out onto a lightly oiled work surface and punch it a few times to knock out excess air. Lightly knead a few times then split the dough into 2 equal portions. These will be our 2 Nifflers.
5. For each Niffler: Cut a piece off the dough just smaller than a golf ball that will form the head. Cut off 4 small marble-sized pieces that will be the claws on the hands and feet. Form the remaining dough into an oval around the size of the palm of your hand. Make a cut using kitchen scissors in the middle of the thin side around 5cm long. Spread the 2 legs apart. Squeeze the 4 claw pieces into a flattened small oval and cut 4 gaps at the end of each to form sharp claws. Press these onto the base body at the end of either leg and in hand positions. Roll the head into a ball then flatter one end into a tube to resemble a Niffler’s head. Poke 2 holes for eyes using a long skewer.
6. For each Niffler: On a lined baking tray, set an oiled 1 litre pyrex bowl round side up. Prop the body of the Niffler by the oiled bowl in a sitting position. Set the head alongside as we’ll attach it later on. Cover with lightly oiled cling film for 25 minutes.
7. Brush lightly with some beaten egg and bake for 25-30 minutes until deep brown and it sounds hollow when knocked. Use a cocktail stick to connect the head to the body.
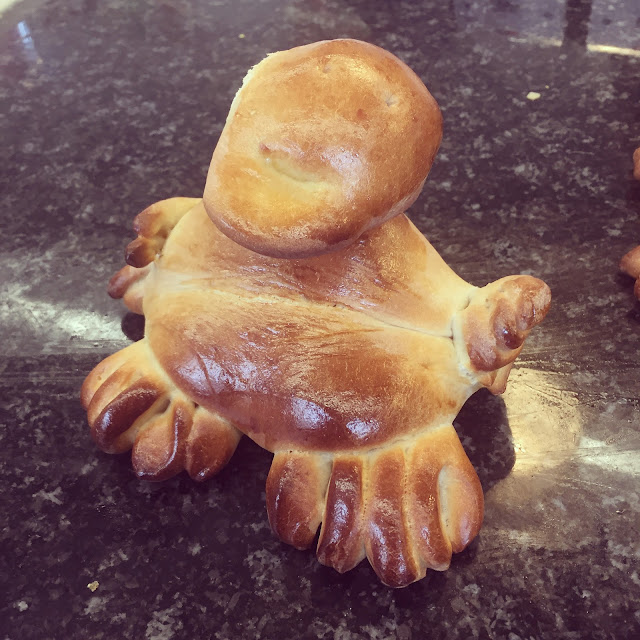
My dough Nifflers ready for baking
It was reminiscent of childhood days playing with Play-Doh and Plasticine as we shaped our dough into Niffler-like creations...a little fiddly but very fun indeed.
After a short second prove, and a light egg wash they baked for around 25-30 minutes and came out golden and well, quite marvellous!
My little Niffler!
These little fellas tasted pretty magnificent - hints of sweet honey, lemon and uber soft in consistency - they reminded me of the iced buns of my childhood. Sliced and slathered with jam was perhaps my favourite way to eat them - they'd have been absolutely brilliant with lemon curd, or even a lemon icing drizzled over the top.
You could easily adapt this recipe to make more traditional bun or finger bun shapes too - the dough is super versatile.
Baking with a touch of magic!
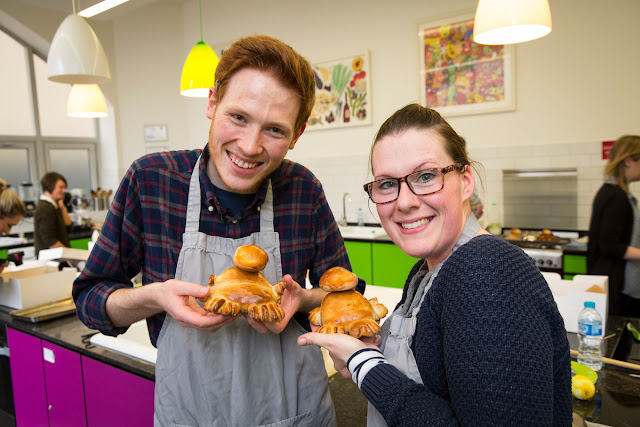
Andrew and I holding our sweet little Niffler breads!
I had such a fun morning and it was an absolute pleasure to bake with Andrew, he is just as warm, friendly, down-to-earth and approachable as I imagined him to be.
Naturally, Liam and the kids were chuffed with my big box of bakes on my return. The kids devoured the Niffler breads, including my porky little 9 month old, Connie who was shoving it in my the fistful! Ha!
Liam and I practically inhaled the apple strudel (we did share it with Liam's Mum & Stepdad too!) enjoying it warm with fresh pouring cream. DIVINE.
Fantastic Beasts and Where To Find Them arrives on 4K ULTRA HD, 3D, BLU-RAY™, DVD AND VOD ON MARCH 27TH.


