
Do the kids rooms need updating?
Have you got a guest room, that needs some serious TLC?
If so, then before you get to work, read my summary of the most influential bedroom trends at the moment and how you can work them in your home...
Feature wall using wallpaper

Feature wall in my own bedroom
The feature wall has been popular for ages, but the current trend of using a bold illustrative print on one wall is a fresh update to the existing trend. You can see that we have tried hard to achieve this in our master bedroom (see my full bedroom tour here). With such a bold print on the walls it is important to keep the rest of the room simple. I think that black, white and neutral prints work particularly well with feature papers. Then you can inject some brighter colours into other things in the room such as the duvet or curtains (see my splash of yellow!).

Placing a feature paper right behind the headboard of your bed works well, while keeping the other walls white. Then you can match your duvet cover too, and it won't look too much. You could soften the look with textures and accessories. You could make a feature of accessories in the room by choosing something particularly special such as these rose gold lamps (rose gold is still one of my faves!) then chuck a luxurious throw over the bed to give it a super-comfortable yet high-end feel.
Victorian Style Bedsteads

I love this one particularly
There is a significant trend at the moment for using Victorian style metal bedsteads. They can't be just any metal bedstead, to fit the trend they must be the ones that have rails running vertically down from the headboard and footboard. They are also usually painted in a gloss cream, black or grey for effect. These work well with bold prints and illustrative designs that are in fashion at the moment. They give you that vintage but industrial feel that is so popular. Combine these with bare light bulb fittings like these to finish the look. You could create contrast by adding floral duvet covers and an eclectic mix of cushions for a very stylish look.
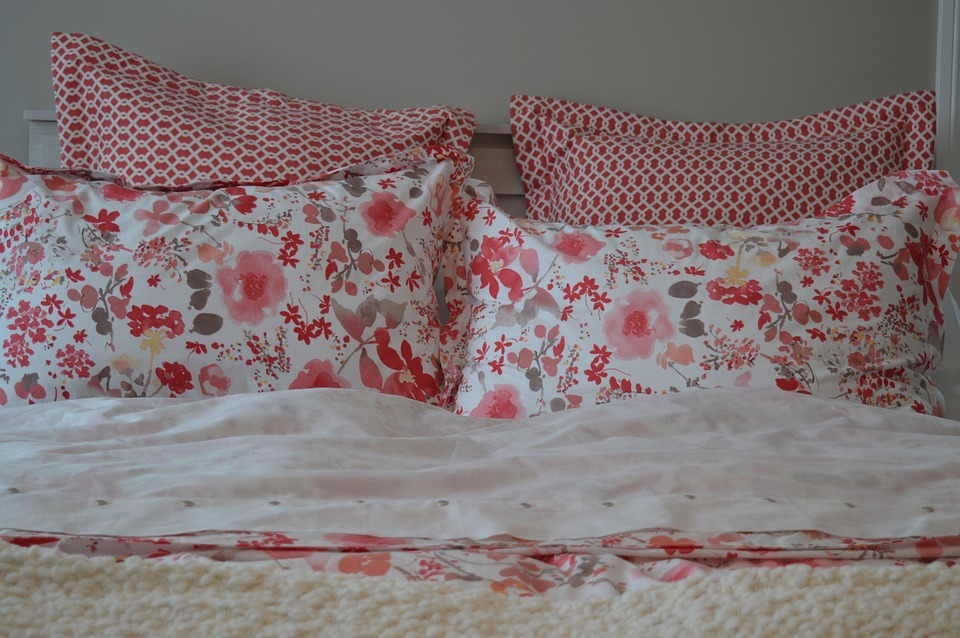
Floral bedcovers to add contrast
Many people are put off buying a Victorian style bed because they think that they are going to be uncomfortable, but this is not the case! You'll often find that they are modern reproductions, rather than original Victorian pieces, and so they are build with modern comforts in mind. Remember, you can add your choice of mattress to the frame for your personal comfort. Would you choose an orthopaedic, memory foam, or Tempur foam mattress? I've always hankered after a Tempur mattress, they are so comfy! If you are not sure which mattress would be best for you, check out this guide to tempur memory foam mattresses, to help you make a more informed decision.
Clothes as decoration
Now it may sound a bit crazy to suggest that you display your clothes, accessories or shoes as decoration in your room. You’ve probably had years of trying to get into the habit of putting them away, neatly out of site, so that everything is tidy. However, done well, you can use the things you would usually store away to enhance the overall look of your bedroom. This is a major trend at the moment.
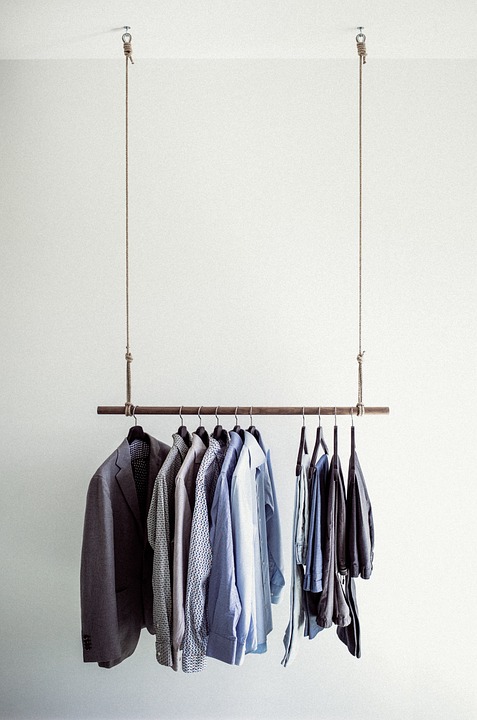
Clothes as decoration
An effective way of doing this is to have an open clothes rail in your room. This works well if you have a small capsule wardrobe or if you have a few striking designer pieces that you really want to show off.
Many people like to have their shoes on show too! If you have Avant Garde or artistic shoe taste, this can work particularly well, as your shoe rack ends up looking more like an art installation than a shelf in Clarks. A simple way of doing this is to use floating shelves and paint them the same colour as your wall. Then either arrange your shoes face on or side on, depending on which looks best. It's also a good idea to have a floor mirror and a seat nearby to make the whole getting ready process more comfortable and enjoyable.

Shoes on display - it's not just women's shoes that can look great.
Jewellery is the decoration that we wear, so it's a shame to hide it away when we're not wearing it. For this reason, why not try the trend of displaying your jewellery collection in your bedroom? You can buy hangers or racks that fix to the wall behind your dressing table. Then you can hang statement pieces for you to admire even when you're not wearing them. Think of how beautiful they will look when the crystal and beads catch the light on a bright day. The added benefit of this is that your jewellery will then be organised and easily to hand, so it should make getting dressed in the morning a bit easier too!
My final fave for bedroom style at the moment is to display fresh flowers. There is something so decadent about having real flowers on show in your bedroom - I don't know about you, but smelling and seeing fresh flowers in my home makes me so happy, and is definitely one of my regular luxury purchases. Choosing your favourite flowers in colours that accent your wallpaper or accessories will be the perfect finishing touch to your newly made-over room.

Fresh flowers in your bedroom, the ultimate luxury.
(This is a collaborative post.)


